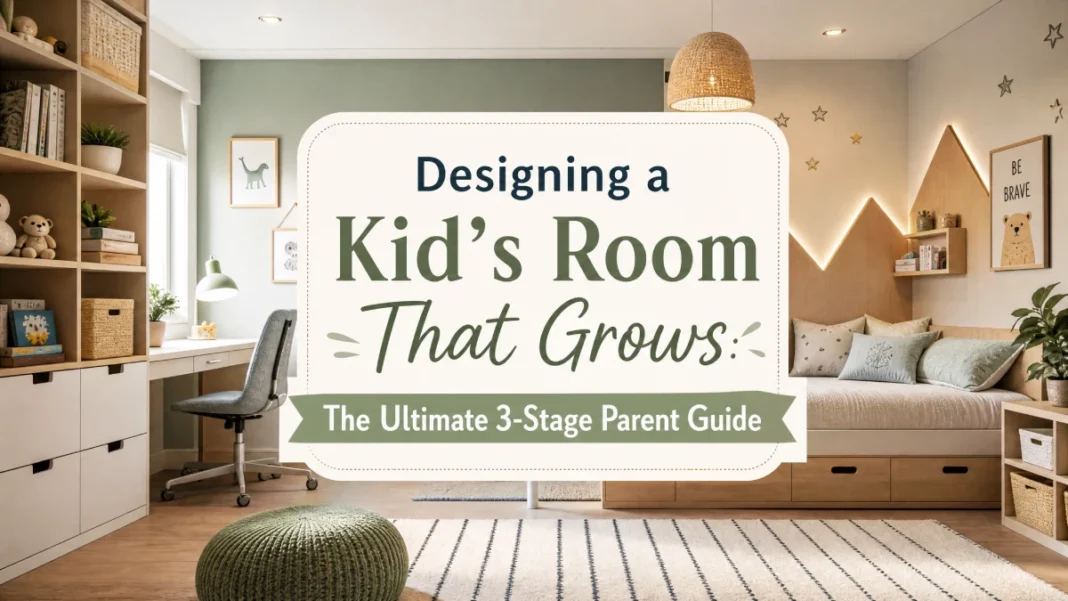
You are expecting a baby, and the nursery is the first room you want to perfect. Or maybe your five-year-old has already outgrown the pastel woodland theme you chose three years ago. The thought of redecorating every few years exhaustes you. It drains your wallet too.
You don’t have to start from scratch each time your child hits a new milestone. A room designed with growth in mind can move from nursery to big-kid space to teen retreat without tearing anything down. And it doesn’t require a designer’s eye — just a few smart choices upfront.
Here’s a real-world, age-by-age plan to design a kid’s room that grows with them. I’ll walk you through the furniture that does double duty, the storage systems that actually work at kid height, and a budget roadmap for ages 0–5, 6–12, and 13+. Let’s build a room that changes as easily as your child does.
The Foundation: A Neutral Base and Changeable Accents
The biggest mistake parents make is going all-in on a theme. A mural of cartoon elephants might feel magical for a nursery, but it becomes a problem by kindergarten. Instead, build the room on a neutral base and let the personality live in the things you can easily swap.
Start with the walls. Paint them a warm white or soft greige — something that feels fresh for a baby but sophisticated enough for a teenager. Try Benjamin Moore’s White Dove OC-17 or Sherwin-Williams’ Agreeable Gray SW 7029. These colors reflect light beautifully and never fight with whatever accent palette comes next. Pick a zero-VOC formula for either one — your newborn will spend hours in this room.
Choose window treatments in simple linen or cotton. A relaxed Roman shade or floor-length curtain in a natural tone will look appropriate from birth to high school. Save the patterned blackout curtains as a layer you can swap later.
Then, layer in personality through changeable accents: bedding, throw pillows, wall art, and a rug. A floral crib sheet can become a geometric duvet in five years. A gallery wall of animal prints can turn into a collection of their own artwork or band posters. This approach gives you the freedom to refresh the room for under $100 instead of repainting and buying all-new furniture.
Furniture That Grows with Your Child
When every piece of furniture has a second (or third) life, you stop wasting money. Look for these three categories of age-adaptable furniture:
- Convertible cribs. A convertible crib transforms into a toddler bed, a daybed, and often a full-size headboard. Look for JPMA certification to ensure it meets current safety standards. One solid choice is the Babyletto Hudson 3-in-1 Convertible Crib. You’ll use it from day one through the teen years with the right conversion kit.
- Adjustable desks and tables. A desk with legs that extend can serve as a play table at age 2, a homework station at age 7, and a full-size computer desk at 14. The IKEA Pahl desk adjusts to three heights and costs around $80. No need to replace it — just raise it.
- Dressers instead of changing tables. A wide, sturdy dresser topped with a changing pad gives you the diaper-changing station you need now. Once diapers are gone, it’s simply their clothing dresser for years. Add a non-slip pad and a safety strap, and you’re set. Anchor the dresser and any tall furniture to the wall with anti-tip straps — a critical step from toddlerhood on.
Also think about seating. A comfortable glider or rocker for late-night feedings can move to the living room later, and a simple upholstered chair can become a reading spot for a kindergartner. Choose classic shapes and neutral upholstery, and the pieces will travel through the house as needs shift.
The 3-Stage Room Evolution
Your child’s room will go through three distinct phases. Here’s exactly what to focus on in each.
Stage 1: Ages 0–5 (Nursery to Toddler Room)
This stage is all about safety, softness, and simple joy.
1. Furniture:
Start with a convertible crib, a dresser-with-changing-pad, and that comfortable feeding chair. Keep the crib mattress firm and new. A Newton Baby Wovenaire mattress is breathable and lasts through the toddler bed stage. Add a small, soft play mat on the floor. At around age 2.5 to 3, convert the crib to a toddler bed using the included rail — or, if you prefer the Montessori approach, replace it with a floor bed to encourage independent movement. The room instantly feels new without a single piece of new furniture.
2. Storage:
Place everything your toddler needs within their reach. Canvas bins on a low open shelf let them pull out toys and books independently. A front-facing book ledge — like the IKEA Flisat wall storage — displays picture books cover-out, which encourages reading. Install hooks at 30 inches high for a tiny backpack and jacket.
3. Accents:
A happy, washable rug anchors the play zone. Pick a bright, patterned crib sheet and a mobile you can remove later. No heavy theme on the walls — just a few framed prints or simple decals that peel off cleanly.
4. Study zone:
You don’t need a desk yet. A small child-size table and a couple of chairs, like the IKEA Lätt set, create an art corner. This same table will later become a homework spot in the next stage.
Stage 2: Ages 6–12 (Playroom to Study Hub)
Now the room shifts from pure play to a space that balances schoolwork, hobbies, and sleepovers.
1. Furniture:
If your convertible crib converts to a full-size bed, make that transition now. If you prefer a twin, many convertible cribs offer that option with a kit. Add storage drawers underneath the bed for extra linens or off-season clothes. That dresser you bought for the nursery? It stays exactly where it is.
Introduce the adjustable desk. Set it to the right height for your grade-schooler. Pair it with an ergonomic junior chair like the Stokke Tripp Trapp (which also works from toddlerhood) or a simple height-adjustable office chair.
2. Storage:
As hobbies multiply, so does the clutter. Use low cubbies with labeled bins — “Legos,” “Art Supplies,” “Science Kits.” A pegboard on the wall above the desk holds scissors, rulers, and a small pencil cup. This keeps the work surface clear and teaches organization without nagging.
3. Accents:
This is where the swap-out magic happens. Let your child choose new bedding featuring a favorite color or interest. Frame a few of their own art pieces. A world map or a magnetic whiteboard turns one wall into a learning and imagination station. All of this costs very little compared to new furniture.
4. Study zone:
The art table from Stage 1 can become a dedicated homework desk, or it can be retired in favor of the adjustable desk. Add a task lamp with a focused, warm beam — the IKEA Forsa work lamp works well. A bulletin board above the desk keeps spelling lists and achievement certificates visible.
Stage 3: Ages 13+ (Teen Sanctuary)
Your teenager craves privacy, control, and a space that feels uniquely theirs. The neutral base you built years ago now becomes your secret weapon.
1. Furniture
The full-size bed from the convertible crib (or the twin bed you introduced at Stage 2) stays. The dresser remains the wardrobe workhorse. The adjustable desk gets raised to its tallest height, and you might swap the chair for an adult-sized one. A small sofa or a comfortable beanbag chair creates a hangout zone.
2. Storage:
A teen needs organized closet space and shelf space for books and trophies. Closet systems with double hanging rods and shoe shelves make the most of vertical space. Open shelving with a mix of bins and display areas works well. At this point, storage can sit at standard adult height because your teen can reach everything easily.
3. Accents:
Hand over the reins. Let them pick a duvet cover, a few throw pillows, and some wall art. A gallery wall of posters, photos, string lights, or LED strip lights will make the room feel personal. If you chose White Dove on the walls, almost any color they love will pop beautifully against it.
4. Study zone:
The desk remains central, but it might need an upgrade for a laptop, a second monitor, and study files. If the original adjustable desk has a small surface, add a simple side table or a wall-mounted shelf for extra horizontal space. Ensure there are enough power outlets nearby for a laptop and phone charger, and add a cable-management tray to keep cords tidy. Good task lighting and a pinboard complete a productive homework station that will carry them through high school.
Smart Storage at Every Height
The one thing every grow-with-them room needs is storage your child can actually use. When kids can reach and see their belongings, cleanup becomes a habit — not a battle. Here are height-appropriate solutions:
- Toddlers (ages 2–5): Open bins on the floor, low hooks, front-facing book ledges. Keep everything under 30 inches.
- School-age kids (ages 6–12): Cubbies with labeled bins, a pegboard at desk height, a backpack hook at 45 inches. Drawer dividers keep clothing categories clear.
- Teens (13+): Full-height shelves, closet organizers, and drawers with dividers for accessories. They can manage a standard closet layout.
With a neutral room, you can move the storage up as your child grows. Swap out the low picture-book ledge for a floating shelf at shoulder height later. Reuse the cubby unit — just change what’s inside.
Study Zone Evolution: From Play Table to Productive Desk
The study zone is the one area that transforms most dramatically. Here’s a smooth path:
- Ages 2–5: A child-sized table in a corner with a bin of crayons and paper. Keep it simple.
- Ages 6–12: Swap in the adjustable desk and junior chair. Add a lamp, a pencil cup, and a bulletin board. The old play table can serve as a Lego station.
- Ages 13+: Raise the desk to full height, upgrade the chair, and add a pinboard or magnetic whiteboard for schedules. Ensure there are enough power outlets nearby for a laptop and phone charger.
You never need to buy more than one desk — you just need one that moves up.
Budget Planning for Each Age Transition
Designing a room that grows with them doesn’t cost more upfront. It actually saves you thousands over the years because you’re not replacing everything at every milestone. Below is a realistic cost roadmap for the key pieces.
| Stage | Key Purchases | Estimated Cost Range | What Transitions |
|---|---|---|---|
| 0–5 | Convertible crib, mattress, dresser, glider/rocker, decor | $1,000–$2,200 | Crib becomes bed; dresser stays; rocker moves out |
| 6–12 | Adjustable desk, desk chair, new bedding, storage bins, lamp | $250–$600 | Desk and chair grow; bedding refreshes the look |
| 13+ | Larger desk accessories, teen bedding, decor updates, extra seating | $150–$400 | All core furniture remains; only accents change |
Total investment over 15–18 years: roughly $1,400–$3,200. Compare that to redoing the room completely three times, which can easily exceed $5,000. The neutral base and convertible pieces pay for themselves by Stage 2.
Conclusion
The secret to a kids’ room you don’t have to redo every few years is hiding in plain sight: a neutral canvas, a few convertible pieces, and changeable accents that follow your child’s personality. You aren’t designing a nursery. You’re designing a framework that bends and stretches from birth to graduation. Start with the right crib, dresser, and desk, and you’ll touch the room only to add the things that make it feel like them — a new duvet, a string of lights, a shelf of trophies.
Now it’s your turn. Which stage are you in right now — and what’s the one piece of furniture you’re most unsure about? Tell me in the comments. I’ll help you think it through.

