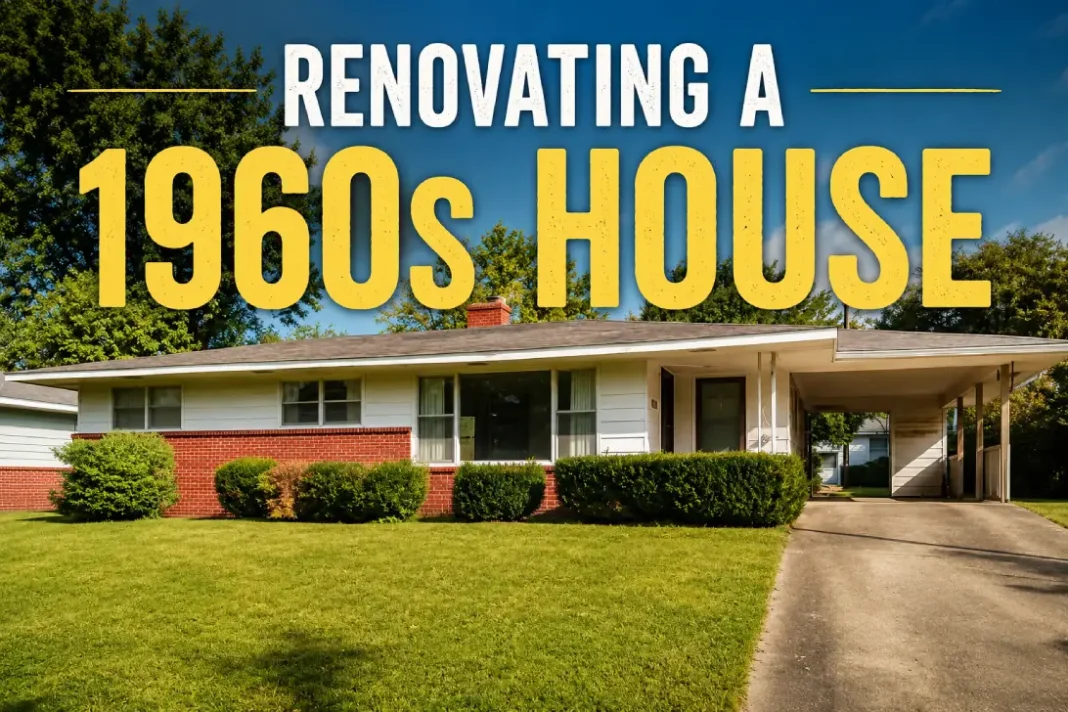
Homes built in the 1960s sell for 8% less on average than comparable renovated properties, according to Zillow’s 2023 Renovation Report. That gap is money left on the table.
If you’re renovating a 1960s house, you already know the drill. Choppy floor plans, single-pane windows, and wiring that wasn’t built for modern life.
The good news? These homes have bones worth saving.
You’ll walk away from this guide knowing which upgrades pay for themselves. You’ll also learn which ones transform daily comfort, and how to sequence a renovation that respects your budget.
What Makes 1960s Homes Different (And Why It Matters)
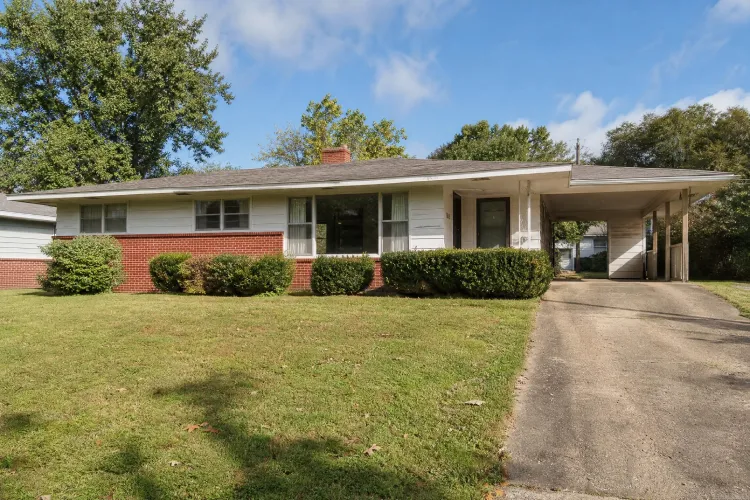
A 1960s house typically means low ceilings, small compartmentalised rooms, and minimal insulation. Builders prioritised efficiency over comfort during this era.
A mid-century home is a residential property built roughly between 1945 and 1969. It’s characterised by clean lines, low-pitched rooflines, and an emphasis on indoor-outdoor flow.
That’s not necessarily bad news. It does mean, though, that your renovation priorities differ from a 1990s remodel — much like the structural rethink behind redesigning a spacious country house.
The Real Property Value Boost: What the Data Shows
Renovation ROI varies widely depending on where you invest. Here’s what the numbers say.
According to Remodeling Magazine’s 2024 Cost vs. Value Report, a minor kitchen remodel recoups roughly 96% of its cost. A full kitchen gut renovation, meanwhile, returns closer to 38%, since expensive finishes rarely translate pound-for-pound.
Here’s how common upgrades stack up:
| Renovation Type | Average Cost | Resale ROI |
|---|---|---|
| Minor kitchen remodel | £12,000–£18,000 | 96% |
| Bathroom remodel | £15,000–£22,000 | 71% |
| New windows (whole house) | £10,000–£16,000 | 68% |
| Attic insulation upgrade | £1,800–£3,000 | 100%+ |
| Garage door replacement | £2,500–£4,000 | 194% |
Insulation and garage doors consistently outperform flashy renovations. Smart homeowners, as a result, tackle the boring stuff first.
The National Association of Realtors found homes with updated systems (electrical, HVAC, insulation) sell 10 to 14 days faster than those without.
Before: The Problems Every 1960s Home Shares
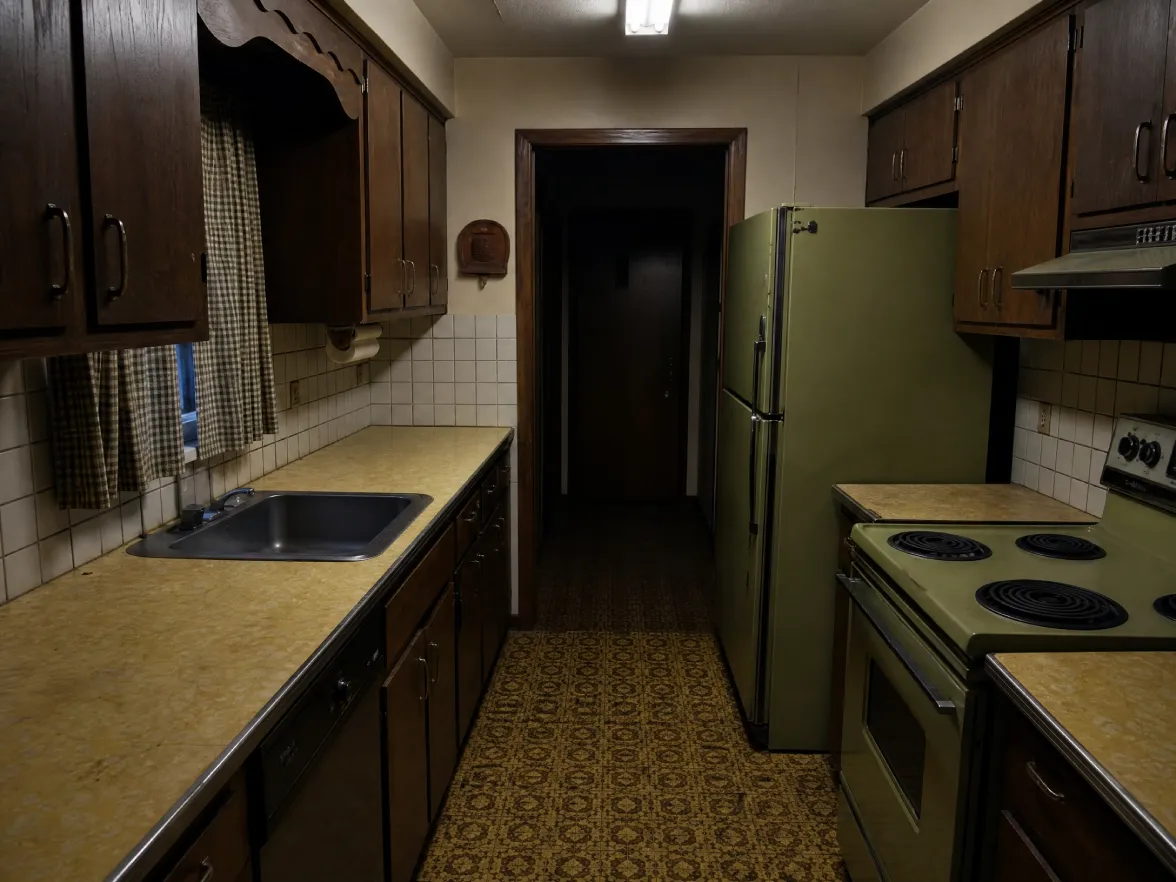
Picture this. You walk into a 1960s house and immediately feel it: dim hallways, a kitchen closed off from everything, a chill near the windows even in mild weather.
Three problems show up again and again:
- Poor insulation. Original 1960s homes often have R-7 to R-11 wall insulation, well below today’s recommended R-13 to R-21.
- Choppy floor plans. Small, separate rooms block natural light and make homes feel smaller than their square footage suggests. Rethinking those layouts often means borrowing ideas from efficient, beautiful room layouts.
- Outdated electrical. Many still run on 60-amp panels, insufficient for modern appliances and home offices. Some also have aluminium branch wiring, which overheats at connection points and poses a fire risk.
After: Real Before-and-After Transformations
Let’s ground this in an actual project. A 1962 ranch home in Ohio underwent a full comfort-focused renovation in 2023.
The owners removed a load-bearing wall between the kitchen and dining room, installing a steel beam for support. They also upgraded attic insulation from R-9 to R-38 and swapped single-pane windows for double-pane, low-E glass.
Results: energy bills dropped 34% year-over-year. The home’s appraised value rose by £47,000, a 19% increase over pre-renovation value.
Buyers who toured the home specifically mentioned the open layout as the deciding factor — the same open, breathable feel you’ll find in guidance on design flow and cohesion.
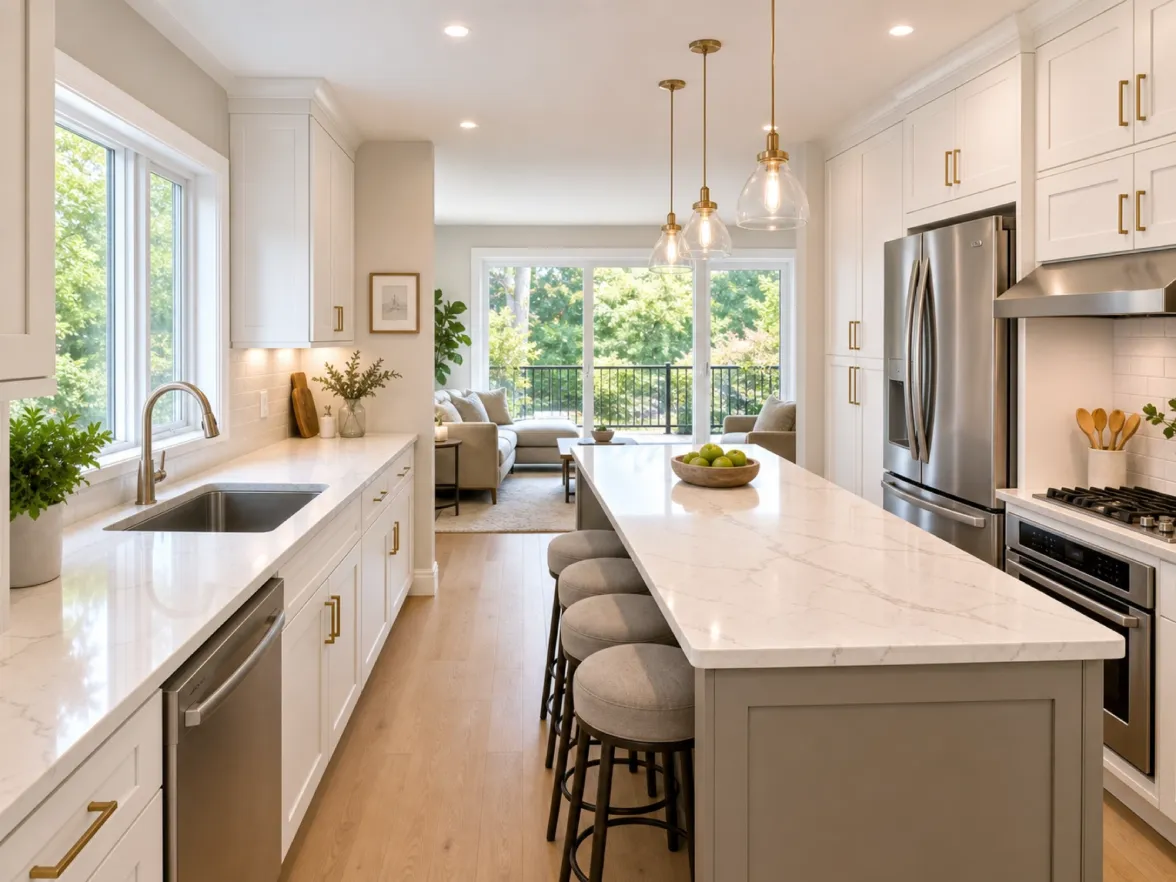
This pattern holds. Combining structural openness with efficiency upgrades delivers both emotional appeal and hard financial return.
Comfort Upgrades That Change Daily Living
Value matters, but you’ll live in this house every day. These upgrades transform how a home feels.
- Insulation and air sealing top the list. Adding spray foam or blown-in cellulose to walls and attics can cut heating and cooling costs by 15% to 25%, according to the U.S. Department of Energy.
- Opening the floor plan brings in light and makes small square footage feel larger. Removing even one non-structural wall between a kitchen and living room often transforms a home’s entire feel.
- Upgrading windows solves two problems at once. Double-pane, Low-E windows reduce drafts and noise while cutting energy loss by up to 30%, per Energy Star data.
Bold move for a weekend project: replace weatherstripping around doors and windows first. It costs under £100 and delivers noticeable comfort gains within days.
Energy Efficiency: The Upgrades With the Fastest Payback
Not every upgrade needs a contractor. Some of the highest-return improvements are surprisingly accessible — many of the same principles covered in why sustainable home renovation saves money.
Here’s what typically pays for itself fastest:
- Attic insulation (payback: 2–4 years)
- Smart thermostats (payback: under 2 years)
- LED lighting retrofits (payback: under 1 year)
- Weatherstripping and caulking (payback: under 1 year)
- Heat pump water heaters (payback: 3–5 years)
- Air-source heat pumps (payback: 5–8 years)
A smart thermostat alone can save the average household £120 to £180 annually, according to Energy Star’s 2024 data. That’s a strong return for a device that costs under £200 installed.
What Competitors Miss: Permit Costs and Hidden Structural Surprises
Most renovation guides skip concerns that matter enormously for 1960s homes.
First, permit and inspection costs
Because many 1960s homes predate current building codes, renovations often trigger mandatory electrical or plumbing upgrades beyond your original scope. Budget an extra 10% to 15% of your renovation cost for code-compliance surprises.
Second, asbestos, lead, and radon testing
Homes built before 1978 may contain lead paint. Those built before 1980 sometimes used asbestos in insulation or flooring adhesive.
Older foundations can also harbour radon, a naturally occurring radioactive gas linked to lung cancer. Testing for these hazards costs roughly £300 to £600, but it protects you from far costlier remediation surprises mid-project.
Planning for these factors upfront prevents the budget blowouts that derail so many 1960s renovations.
How to Sequence Your Renovation (Step-by-Step)
Order matters enormously when you’re working within a budget. Follow this sequence for the best return on both comfort and value.
- Test for asbestos, lead, and radon before any demolition begins.
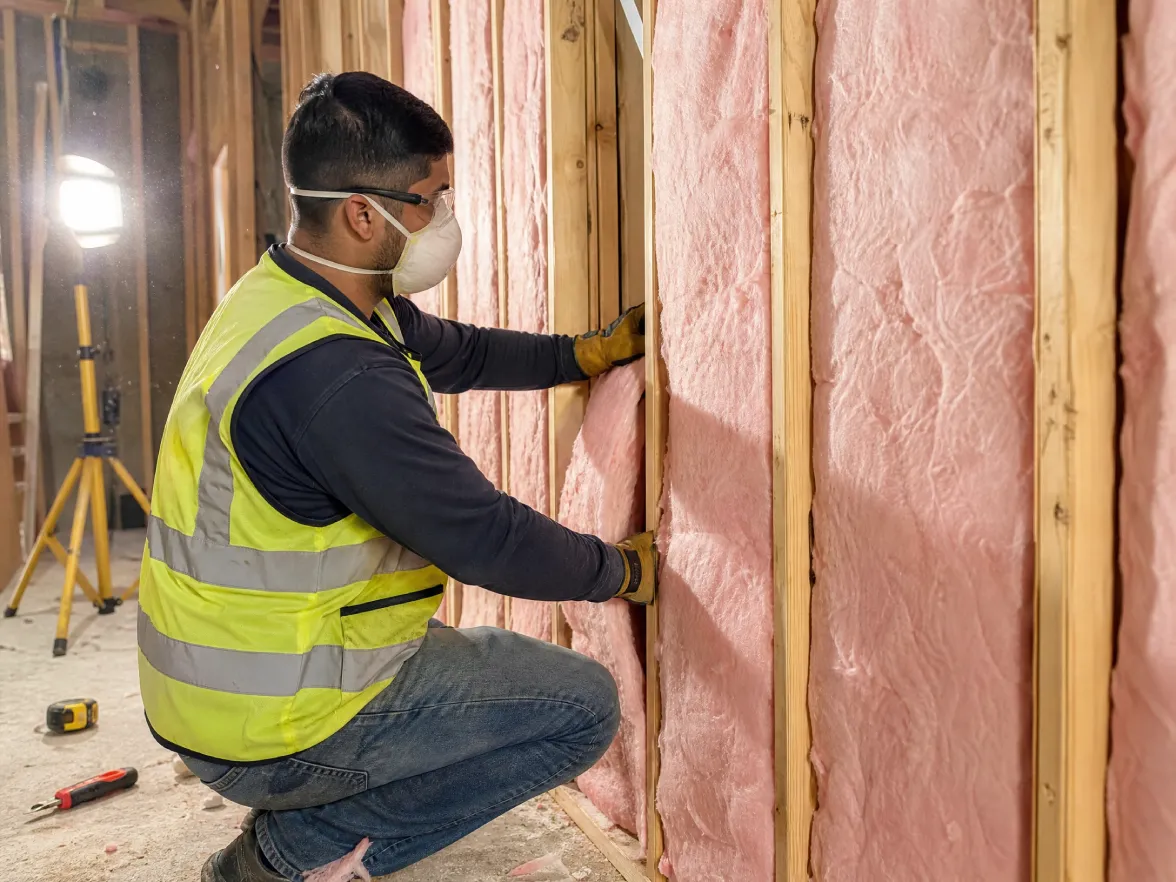
- Upgrade insulation and air sealing while walls are already open.
- Update electrical panels to at least 100 amps for modern needs.
- Replace windows for immediate comfort and efficiency gains.
- Open the floor plan where structurally feasible.
- Tackle kitchen and bathroom finishes last, once systems are sound.
This order prevents costly rework. Cosmetic finishes installed before structural or systems work often get damaged or removed again.
Conclusion
Before you start pulling permits, keep these points in mind.
- Insulation and garage doors offer the highest ROI of any renovation category, often exceeding 100%.
- A full comfort-focused renovation can boost appraised value by 15% to 20% while cutting energy bills by roughly a third.
- Test for asbestos, lead, and radon before demolition on any pre-1980 property.
- Sequence your renovation: systems and structure first, cosmetic finishes last.
- Small upgrades like weatherstripping and smart thermostats pay for themselves within one to two years.
Renovating a 1960s house rewards homeowners who prioritise systems and comfort before cosmetics. The data consistently favours insulation, windows, and floor plan changes over purely decorative upgrades.
Start with an energy audit this month. It’s the cheapest way to identify exactly where your 1960s home is losing money and comfort, before you spend a pound on renovation.

