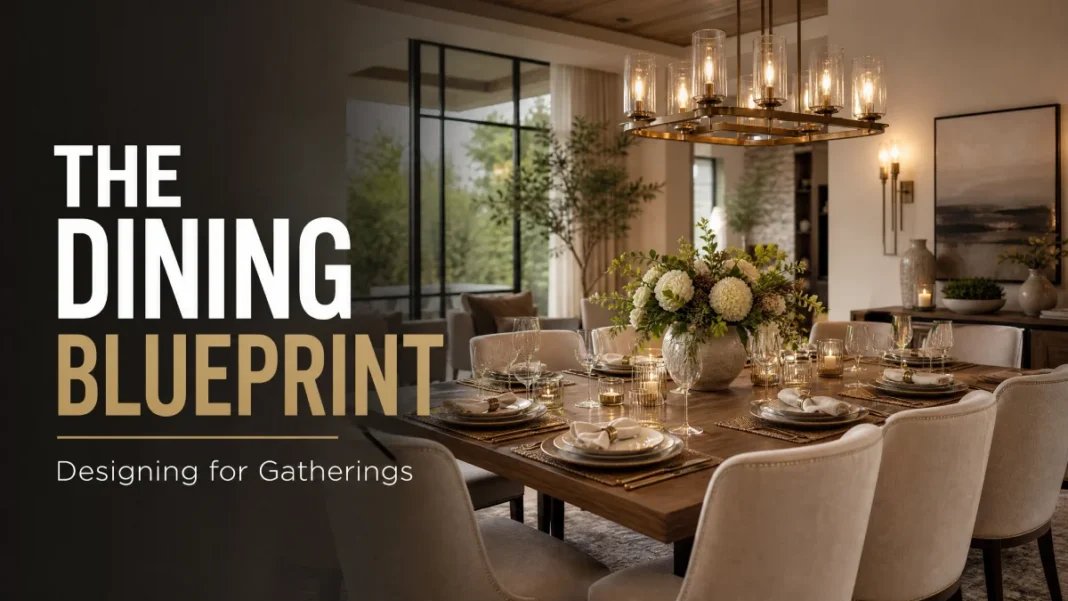
You want your dining room to be the backdrop for laughter, long conversations, and celebrations that stretch late into the evening. But maybe right now the room feels cramped when you pull out extra chairs. The lighting is too harsh. You have nowhere to set down a platter except right on the table.
I get it. A gathering-ready dining room doesn’t happen by accident—it takes a few intentional design moves. And the good news is, you don’t need a massive renovation or a bottomless budget to pull it off.
This blueprint covers how to create a space that works as beautifully for Tuesday pizza night as it does for Thanksgiving dinner. You’ll learn how to size your table to the room, pick seating that mixes comfort and character, hang lighting that makes everyone look good, and add the storage and styling details that turn a meal into an event.
Step 1: Choose the Right Table Size for Your Room
The table is the anchor, the place where everything happens. Get the size wrong, and you’ll either be bumping elbows or squeezing behind chairs all evening. The rule I always start with: you need at least 36 inches of clearance between the edge of the table and the nearest wall or piece of furniture. That’s what allows someone to slide a chair back, stand up comfortably, and walk around while others are seated. If you have a heavy traffic path on one side, bump that up to 42 to 48 inches.
Beyond clearance, the table itself must fit the number of people you typically host. A table that feels generous for four can become a puzzle for eight. For everyday meals, aim for about 24 inches of width per place setting and as much length as the room allows. For comfortable dinner parties, each person needs 24 to 30 inches of elbow room.
Here’s a quick reference for common table sizes and what they seat.
| Table Shape & Size (approx.) | Comfortable Seating Capacity | Minimum Room Size (with 36″ clearance) |
|---|---|---|
| Rectangular 60″ x 36″ | 4-6 | 11′ x 8′ |
| Rectangular 72″ x 40″ | 6-8 | 13′ x 9′ |
| Rectangular 84″ x 42″ | 8 | 14′ x 10′ |
| Rectangular 96″ x 44″ | 8-10 | 15′ x 10′ |
| Round 48″ diameter | 4-6 | 10′ x 10′ |
| Round 60″ diameter | 6-8 | 12′ x 12′ |
If your room is long and narrow, a rectangular table will nearly always give you the most flexible seating. Square rooms can handle a large round table beautifully—it encourages conversation because no one is stuck at a corner. Just be realistic about your day-to-day numbers. Buy for the way you actually live, not for the once-a-year crowd. I often tell clients to pick a table with a leaf extension that can live inside the table or be stored nearby. That way you keep the intimacy of a smaller table and gain the superpower of seating 10 when you need it.
Think about the material, too. Solid wood hides scratches and ages well. Glass or acrylic opens up a tight room because you can see through it, though it shows every fingerprint. Stone-topped tables—marble, quartz—feel substantial but demand coasters and quick cleanup. Pick the surface that matches how you eat, not just how it photographs.
If you’re placing a rug under the table, make sure it extends at least 24 inches beyond the table edge on every side. That gives chairs enough runway to slide in and out without catching on the edge. In a tight room, 18 inches works, but anything less and the rug starts to look like a bath mat.
Step 2: Select Seating That Mixes Comfort and Character
Seating is where personality shows up. Matching sets are safe, but mixing chair styles—different silhouettes, materials, or finishes—gives a room a collected, layered feel. You can use the same chairs at the heads of the table and a bench or contrasting side chairs along the sides. A slipcovered head chair paired with cane-back side chairs adds texture and warmth.
Comfort trumps looks every single time. Think about the last dinner party you attended where the chairs were hard or too deep. You remember the discomfort, not the centerpiece. For a chair to feel good through appetizers and dessert, you want:
- Seat height around 18 inches from the floor to the top of the seat. This pairs well with a standard 30-inch-high table.
- A seat depth between 16 and 18 inches so legs don’t hit the front edge.
- A back height of at least 12 inches from the seat for lower-back support. Armchairs need a few extra inches of clearance from the table apron so arms can slide underneath.
If you’re considering a dining bench, know that it saves space and kids love it. But adults often prefer a backrest for long meals. If a bench feels right, add a few throw pillows for lower-back support and keep the bench length no more than two-thirds of the table length—otherwise it looks like a church pew.
Mix with intention. Two upholstered host chairs, four wooden side chairs, and a bench on one side can give you seating for eight that feels curated, not chaotic. Tie them together with a consistent finish, like all warm wood tones or all black legs, so the mix reads as thoughtful.
Step 3: Master Lighting for Warmth and Drama
Lighting is the most underrated tool for making a gathering feel special. You can set a stunning table, but if the light is coming from a single harsh overhead fixture on full blast, the whole room falls flat. The fix is simple: layers, height, and dimmers.
Start with the chandelier or pendant—the focal point. Hang it so the bottom sits 30 to 36 inches above the table surface for an 8-foot ceiling. For every additional foot of ceiling height, raise the fixture about 3 inches. This keeps the light in the right zone: low enough to feel intimate, high enough that you can see the faces across the table without ducking.
A common mistake I see is a fixture that’s too small. Your chandelier’s diameter or width should be roughly half to two-thirds the width of the table. If you have a 40-inch-wide table, look for a fixture that’s somewhere between 20 and 27 inches wide. Over a long table, a linear fixture with multiple bulbs or two pendants spaced evenly works much better than one tiny lantern that gets swallowed up.
Install a dimmer switch
Dimmers let you dial the mood from bright and energetic for homework or game night down to soft and glow-y for dinner parties. Even a modest budget fixture looks expensive when it’s dimmed to candlelight level. If you aren’t comfortable rewiring, a plug-in dimmer for lamps or smart bulbs you control from your phone can give you the same flexibility without touching a wall switch.
Wall color plays a role, too. Dark or saturated walls absorb light and lean moody—great for evening entertaining, but you’ll need more lumens to compensate. Lighter walls bounce light around and keep daytime meals bright. If you’re choosing a paint color, test it at night under the fixture you plan to install, not just in daylight.
Layer in additional sources so the overhead isn’t doing all the work. A buffet lamp on a sideboard, a pair of wall sconces flanking a hutch, or even a floor lamp in a corner adds dimension. I love adding candlelight directly on the table—tapered candles in simple holders bring a warmth that no electric light can replicate. When the chandelier is dimmed low, and candles are flickering, the whole room leans in a little closer.
Step 4: Add Entertaining Functionality with Storage and Serving Zones
A dining room that only holds a table and chairs will force you to run back and forth to the kitchen all evening. Building in a few serving and storage zones changes that. You’ll move less, host more calmly, and keep the table clear of clutter.
The Buffet or Sideboard
This piece is your hosting workhorse. It gives you a surface for setting out dishes family-style, a place for extra glassware, and hidden storage for linens, serving utensils, and candles. Look for a piece that’s about 34 to 38 inches high—slightly taller than the dining table—so the serving surface feels accessible when you’re standing.
If you have the space, a buffet that’s at least 60 inches long keeps platters from crowding each other. Inside, adjustable shelves let you stash everything from table leaves to oversized platters.
The Bar Cart or Drinks Station
Offloading beverages to a dedicated zone is one of the smartest things you can do for flow. A bar cart tucked into a corner or along a wall lets guests help themselves without circling the table. Stock it with a few essential spirits, a bottle of wine, sparkling water, a small ice bucket, and a stack of glassware.
You don’t need a full bar setup—just a clear, uncluttered invitation to pour. If you’re short on floor space, a tray on the buffet with a decanter and a few glasses does the same job without adding a single piece of furniture.
Within-Arms-Reach Serving
Consider adding a slim console table against a wall behind the main table. It acts as a drop zone during the meal: extra serving bowls, bread baskets, and water pitchers can live there instead of cramming the tabletop.
A 14-inch-deep console works in even a narrow room. Top it with a tray to corral small items, and hang a piece of art above to make it feel intentional rather than purely utilitarian.
Rethink how you use storage. Your buffet can hold board games, table linens, and party supplies, not just china. A lower cabinet can hide a small step stool for little ones. If you plan for how you actually entertain—pizza boxes on a weekend or a full buffet spread for a holiday—you’ll design a room that supports you instead of working against you.
Step 5: Style the Table for Special Occasions (and Every Day)
You don’t need a formal event to set a welcoming table. Small styling rituals make an ordinary Tuesday feel like an occasion. And when a holiday or birthday does roll around, a few simple upgrades take the table from “nice” to unforgettable.
Start with a foundation layer that stays in place all week. A low runner, placemats in a natural texture, or a simple linen tablecloth grounds the table and reduces the echo-y sound of plates hitting bare wood. If your dining room has hard floors and bare walls, sound bounces fast—a rug under the table and upholstered chairs do double duty as décor and acoustic treatment. Choose something washable so you aren’t stressed about spills.
Everyday centerpieces should be low and conversational—nothing taller than about 12 inches. A row of small bud vases with single stems, a wooden bowl filled with seasonal fruit, or a cluster of pillar candles on a wooden tray. Tall arrangements block eye contact and shut down conversation. Save them for the buffet, never the dining table.
When it’s time to elevate for a gathering, layer in these elements:
- Mix real candles with battery-operated ones for safety and longevity. Taper candles in brass holders bring height while keeping sightlines clear.
- Incorporate texture through napkins and glassware. Linen napkins tied with twine and a sprig of rosemary cost almost nothing and feel so intentional.
- Add small personal touches at each place setting. A handwritten name card, a sprig of eucalyptus, or a tiny treat like a chocolate truffle tells guests you were expecting them. It costs pennies and delivers real warmth.
- Pull in height at the perimeter. Flanking the buffet with tall branches or a pair of hurricane lanterns adds drama while the table itself stays low and intimate.
Don’t save all your “good” things for a future date. Use the pretty glasses. Light the special candles. The point of a gathering-ready dining room is that it’s lived in, not roped off.
Conclusion
The most memorable gatherings don’t require perfection. They happen when a room supports real life—elbows on the table, wine being poured, kids laughing, friends staying for one more slice of cake.
My challenge to you is this: start with the one thing that would make the biggest difference right now. Maybe it’s a dimmer switch. Maybe it’s a buffet you’ll finally buy after measuring your wall. Or maybe it’s the simple act of lighting candles and setting the table for tomorrow’s breakfast.
Do that one thing, then come back and tell me how it felt. I’d love to hear which step you’re tackling first. Leave a comment below—I read every one.

