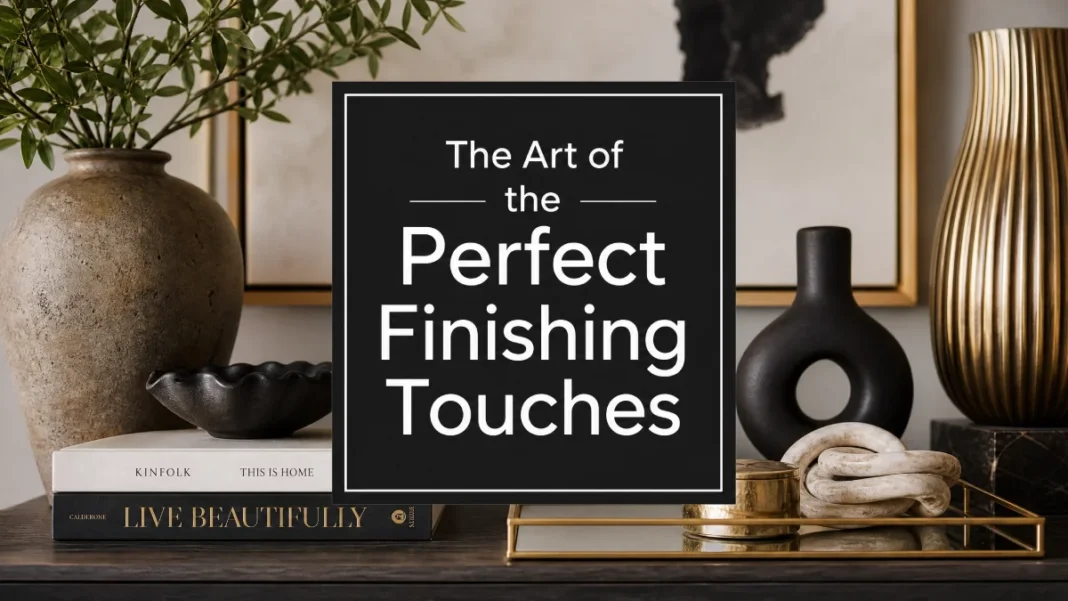
You’ve picked the sofa, chosen the paint color, and hung the curtains. The big pieces are in place. But something still feels… off. The room looks finished but not quite finished.
That missing piece is accessorizing — the art of adding those final decorative touches that turn a house into a home. It’s the difference between a showroom and a space that actually feels like you.
The good news? You don’t need a design degree or an unlimited budget to get it right. Here’s a complete walkthrough of room accessorizing — from the designer-approved rule of three to budget-friendly finds and a room-by-room checklist.
What Is Room Accessorizing?
Room accessorizing means adding decorative items to a space after the main furniture is in place. Think vases, books, throw pillows, candles, artwork, sculptures, trays, and plants. These are the finishing touches that add personality, warmth, and visual interest.
Accessories do more than fill space. They tell your story and create depth. They make a room feel lived-in and intentional rather than staged and cold. And here’s the best part — you can change them whenever you want. Unlike a sofa or a rug, accessories are easy to swap and refresh.
Why Your Room Feels “Almost Done” (And How to Fix It)
If your room feels like it’s missing something, you’re not alone. Most homeowners struggle with this moment. The furniture is there, the layout works, but the space lacks that certain something.
Here’s what’s usually happening:
- You have too many small items that get lost in the room.
- You don’t have enough height variation — everything sits at the same level.
- You’re afraid to layer and leave surfaces feeling flat.
- You haven’t found your focal point, so the eye doesn’t know where to land.
Fix these four things, and your room will go from “almost done” to “absolutely done.”
Step 1: Assess Your Room Before You Buy Anything
Before you shop for a single accessory, take a good look at your room. Walk around. Notice what’s working and what’s not.
Ask yourself these questions:
- What’s the focal point? (Fireplace? Window? Large piece of art?)
- Where are the empty surfaces that need attention?
- What’s the existing color palette — and what accent colors could you add? (Pull from art, rugs, or textiles you already own for a cohesive look.)
- What’s the scale of your furniture? (Oversized sofa needs bigger accessories. Small side table needs smaller ones.)
Designer tip: Stand back and quickly scan the room. If everything blurs into one flat visual plane, you need more texture and height variation.
Step 2: Master the Rule of Three
Here’s the single most useful accessorizing rule you’ll ever learn: the rule of three.
The rule of three means grouping items in odd numbers — especially threes — to create a look that’s balanced, organic, and visually interesting. Our eyes naturally move around an odd-numbered arrangement, creating flow and interest rather than static symmetry.
Why it works: Grouping in threes feels more natural and less staged than pairs or even numbers. It helps a space feel collected instead of arranged.
How to apply it:
- When styling a shelf, group three objects together — a tall vase, a medium book stack, and a small candle.
- When arranging a coffee table, use three main items — a tray, a stack of books, and a small plant.
- When hanging wall art, three pieces often work better than two.
The key to making it work: Vary the height, texture, and shape of your three items while keeping a cohesive color palette. Think of each group as a small still life — a styled arrangement designers call a vignette — with a tall anchor piece, a medium supporting piece, and a smaller detail piece.
And remember — the rule of three isn’t a strict law. Sometimes a bold solo piece or symmetry works even better. Use it as a guide, not a cage.
Step 3: Get Scale Right (This One’s Non-Negotiable)
Scale might be the most overlooked aspect of accessorizing — and the one that makes the biggest difference.
The problem: Tiny accessories get lost in a room. They lack visual weight and look insignificant rather than intentional.
The fix: Think bigger. One large, statement piece has more impact than five tiny trinkets. An oversized floor lamp, a large piece of art, or a substantial ceramic vase can anchor a space in a way that small items never can.
Scale guidelines to follow:
- On a coffee table, your accessories should be in proportion to the table’s size. A tiny vase on a large table looks like an afterthought.
- On shelves, mix heights — tall items at the back, medium in the middle, small in front.
- In a large room, go bigger. In a small room, go fewer but still substantial.
And don’t be afraid of negative space. It gives the eye a place to rest and makes your accessories stand out more.
Step 4: Layer Like a Pro
Layering is the secret sauce of great accessorizing. Think of it like dressing for a chilly day — layers are everything.
The layering formula:
- Start with a base. A tray instantly corrals smaller items. On shelves, a flat stack of books works like a tray. On a console table, a runner breaks up long lines.
- Add your anchor piece. This is your tallest or most substantial item — a large vase, a sculptural object, or a stack of coffee table books.
- Add a middle layer. A bowl, a lidded box, or a medium-height candle.
- Add a small detail. A tiny sculpture, a single flower in a bud vase, or a small framed photo.
- Mix textures. Combine wood with brass, velvet with linen, matte ceramics with rough stone, or rattan with glass. Aim for at least three different materials in any display.
Pro tip: If everything in your room is smooth and shiny, add something textured — a woven jute basket, a chunky knit throw, or a rough-hewn stone object.
Step 5: Style Your Surfaces
Now let’s get practical. Here’s how to style the most common surfaces in your home.
Coffee Table Styling
Your coffee table is prime real estate. Don’t waste it.
- The formula: Start with a tray as your base. Add a stack of two or three coffee table books — photography, art, or travel titles are perennial favorites. Place a vase with fresh or dried flowers on top. Add one more small object — a candle, a bowl, or a small sculpture.
- Height matters: Stack books in two piles of varying heights. Add something tall (like a vase with branches) and something low (like a bowl or coaster set).
- Keep it practical: Your coffee table should still function. Leave room for a drink or a remote. If you can’t use the table, you’ve over-accessorized.
Shelf Styling
Shelves are where “collected” can turn into “chaotic” in about five minutes.
The approach: Think in zones, not rows. Treat each section of your shelf as its own little composition.
The formula per zone:
- One tall item (vase, candleholder, or sculpture)
- One medium item (stack of books, bowl, or framed photo)
- One low item (small candle, stone, or trinket)
The triangle method: Arrange items in a triangle pattern — tallest at the back or center, medium in front, smallest at the front. This creates visual flow and keeps the eye moving.
Pro tip: Repeat one element (like a color, material, or shape) every couple of sections to tie the whole shelf together.
Console Table and Entryway Styling
Your entryway sets the tone for your entire home. Make it count.
The essentials: A lamp for warm lighting. A bowl or tray for keys and mail. A mirror to check yourself on the way out. One decorative object — a vase, a sculpture, or a stack of books — for personality.
The rule: Less is more here. An entryway table should feel welcoming, not cluttered.
Mantel Styling
The mantel is a natural focal point. Treat it like one.
The formula: Start with a large anchor piece in the center — a mirror, a large piece of art, or a substantial vase. Flank it with pairs of smaller items — candlesticks, book stacks, or small sculptures.
Or try the rule of three: Group three items together on one side of the mantel, leaving the other side balanced but not perfectly symmetrical.
Step 6: Rotate Seasonally
Accessorizing isn’t a one-and-done situation. Just like you swap your wardrobe for the seasons, your accessories deserve a refresh too.
Why rotate: Seasonal changes keep your space feeling fresh. Summer calls for lighter fabrics and brighter colors. Winter wants cozy textures and warm tones.
What to swap:
- Textiles: Switch heavy throws and velvet cushions for washed linens and crisp cottons in summer.
- Colors: Lighter tones reflect natural light in summer. Deeper, moodier colors feel right in winter.
- Objects: Swap dark, heavy vases for lighter ceramics. Swap dried branches for fresh flowers.
Storage tip: Store seasonal accessories in clear, labeled bins so you can easily swap them when the mood strikes. Keep one “everyday” bin for neutral staples that work year-round.
Step 7: Accessorize on a Budget
You don’t need to spend a fortune to accessorize well. Between thrift finds, DIY projects, and affordable retailers like HomeGoods, IKEA, and Target, you can style every room on a realistic budget.
Thrift Stores and Vintage Shops
Thrift stores are goldmines for unique accessories. Look for:
- Vases and jars in interesting shapes
- Picture frames you can spray paint to match your palette
- Books with beautiful spines for stacking
- Bowls and trays for organizing smaller items
- Candlesticks in brass, ceramic, or glass
Pro tip: Pick a decor palette and stick to it when thrifting. This keeps your finds cohesive even when they come from different sources.
DIY and Upcycling
Some of the best accessories are ones you make yourself.
- Nature finds: Branches, pinecones, stones, and dried flowers make beautiful, free decorations. A single branch in a vase can be stunning.
- Spray paint magic: That ugly thrift store frame? A coat of spray paint transforms it.
- Repurpose: Turn old books into book stacks. Use vintage doilies as decorative accents.
Shop Your Own Home
Before you buy anything new, look around your house. That beautiful bowl you got as a gift but never use? That’s an accessory. Those books you’ve already read? Stack them on your coffee table. You probably already own more accessories than you realize.
Room-by-Room Accessory Checklist
Here’s a quick checklist of what to accessorize in each room.
Living Room
- Throw pillows (3–5 in mixed textures)
- Throw blanket (draped over sofa or armchair)
- Coffee table books (2–3 stacked)
- Vase with fresh or dried flowers
- Living plant (fiddle leaf fig, snake plant, or trailing pothos)
- Tray or bowl for remotes
- Candles or candleholders
- Area rug (if you don’t already have one)
- Wall art (at least one substantial piece)
Bedroom
- Bedside lamps (one on each side if space allows)
- Stack of books on nightstand
- Small vase or plant
- Decorative pillow (in addition to sleep pillows)
- Throw blanket at foot of bed
- Framed photo or small art piece
- Catch-all tray for jewelry or watch
Kitchen
- Canisters or jars for countertop storage
- Small plant or fresh herbs (basil, rosemary, or mint)
- Decorative bowl for fruit
- Cookbook stand or stack of cookbooks
- Vase with flowers on island or counter
Bathroom
- Soap dispenser (ceramic or glass, not plastic)
- Tray for toiletries
- Small plant or vase
- Quality towels (rolled or folded neatly)
- Candle for ambiance
- Small piece of art or mirror
Entryway
- Console table or shelf
- Lamp for warm lighting
- Mirror (full-length or wall-mounted)
- Tray or bowl for keys and mail
- One decorative object (vase, sculpture, or plant)
Common Accessorizing Mistakes to Avoid
Mistake #1: Too many small items. One large piece beats five tiny ones every time. Edit ruthlessly.
Mistake #2: Everything at the same height. Vary your heights. Stack books. Use tall vases. Create visual movement.
Mistake #3: No focal point. Every arrangement needs somewhere for the eye to land first. Start with one anchor piece and build around it.
Mistake #4: Forgetting texture. A room without texture feels flat. Mix materials — wood, metal, ceramic, glass, fabric, stone.
Mistake #5: Over-accessorizing. When in doubt, take one thing away. Breathing space around objects allows each piece to be appreciated.
Conclusion
Here’s the single most important takeaway: accessorizing is about telling your story, not following rules. The rule of three, the layering techniques, the scale guidelines — these are tools to help you, not chains to hold you back.
Start with one surface today. Your coffee table. A shelf. Your nightstand. Apply the rule of three. Vary your heights. Add some texture. Then step back and see what happens.
You’ll be surprised how quickly that “almost done” room becomes “absolutely done.”
Now it’s your turn. Which room in your home needs accessorizing first? Drop a comment below — I’d love to hear what you’re working on.

